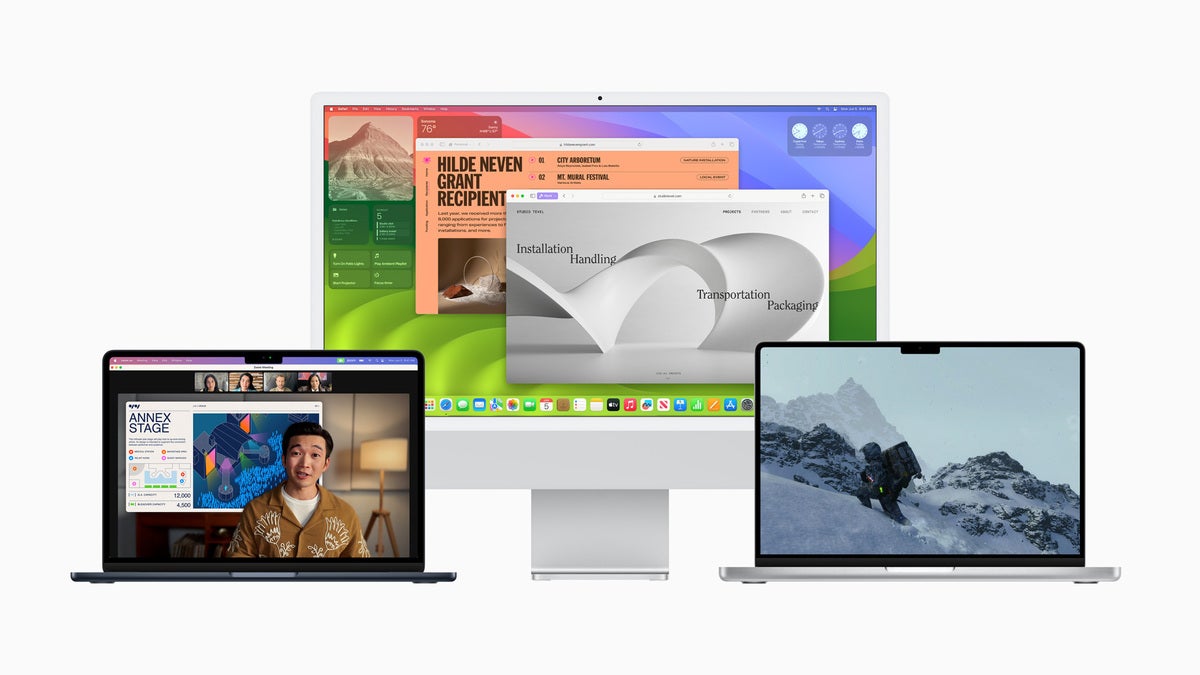
As Macs proliferate across the enterprise, and with macOS Sonoma now out, here’s a new macOS Sonoma trick to try the next time you’re in a Zoom meeting. Called Presenter Overlay, it should help make video collaboration more effective and more personal. (And it should be supported across most serious video conferencing apps soon.)
What is Presenter Overlay?
Anyone who has ever attempted to share documents within a videoconferencing app might have noticed the lack of personalization involved as you literally disappear off screen. Presenter Overlay changes this by placing a small window above the shared content in which the person leading the call appears. This makes for a more personal experience while the information is shared, particularly when discussing complex projects.
What apps support Presenter Overlay?
Apple introduced Presenter Overlay along with macOS Sonoma. It’s a system feature that can be enabled in third-party video conferencing apps, is available in Apple’s FaceTime app, and is supported by other apps, including Zoom.
How do you enable Presenter Overlay?
The control for Presenter Overlay doesn’t sit within the app you’re using. But when you use an app that supports it, the option will appear in the video menu available in the Mac’s top Menu bar.
What about my backgrounds?
It’s important to note that when using Presenter Overlay, any virtual background provided by third-party videoconferencing apps is not displayed. Your actual background will be visible.
How to use Presenter Overlay
When you are engaged in a video call on a Mac running macOS Sonoma or later, you should see the video call button appear in the top menu bar. Tap this and then tap the screen-sharing button. (In FaceTime, you can also click the screen-sharing button from within the call screen.) Then follow these steps:
Select a small or large window for the overlay.
Choose what you intend to share — an app window, an app, or your entire screen. You might just wish to share a Keynote presentation, document, or spreadsheet, for example.
Once you’ve selected what you plan to share, just tap the screen to begin doing so.
Your face will appear in a window overlaid on the content you’re presenting. You can drag the window elsewhere on screen. (A small window features mostly your face in a round window, while large captures much more visual information, including what is behind you).
When you want to stop using the feature, just choose the video icon in the top Menu bar and tap Off in the Presenter Overlay section; or hit the red Stop Sharing item; or click the camera button to disable your camera feed via the application.
Some third-party integrations offer different ways to use the feature.
While in Presenter Overlay
Presenter Overlay has other useful features. While in the session, click the video icon in the top Menu Bar and then choose the camera you’re using. (This will usually be your Mac camera, but it could be an external…
2023-10-17 00:48:02
Link from www.computerworld.com rnrn
